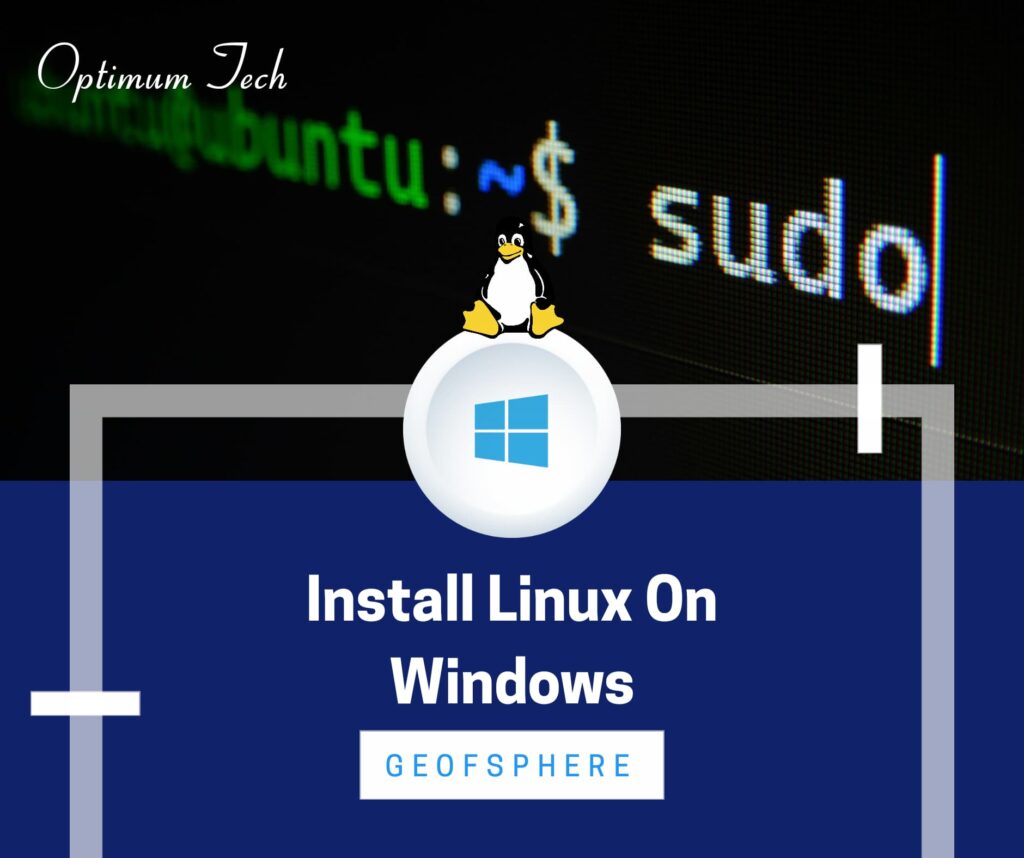
START RUNNING LINUX ON WINDOWS NOW(NO VIRTUAL MACHINE NEEDED).
Want to run Linux on Windows without using a virtual machine like VMware or VirtualBox? The best way is by using Windows Subsystem for Linux (WSL)—a lightweight, fast, and powerful tool that lets you run a full Linux terminal right inside Windows.
This tutorial walks you through the step-by-step process of installing WSL on Windows 10 or 11, and explains all necessary commands so you can get started quickly.
Why Use WSL Instead of Virtual Machines?
✅ No need to install bulky VM software (like VirtualBox or VMware)
✅ Faster startup and lower memory usage
✅ Seamless integration between Windows and Linux
✅ Great for developers, sysadmins, and DevOps workflows
🔧 Prerequisites
- A system running Windows 10 (version 2004 or later) or Windows 11
- Internet connection
- Administrator access
🛠️ Step 1: Check Your Windows Version
Before proceeding, make sure your Windows version supports WSL.
👉 Command:
winver
Press Win + R, type winver, then press Enter.
Ensure you’re running Windows 10 version 2004 or newer, or Windows 11.
🧪 Step 2: Open PowerShell as Administrator
- Press
Win + Xand select Windows PowerShell (Admin) or Terminal (Admin).
wsl --install
This command will:
- Enable WSL
- Install the default Linux distribution (Ubuntu)
- Install the latest WSL kernel updates
Restart Your Computer (if prompted)
Set Up Linux Distribution
- After installation, WSL will launch Ubuntu (or another installed distro).
- Follow the on-screen instructions to create a username and password.
That’s it! You have been equipped with superpowers. You can now wield commands, and the system will bow to your will.
FIX POSSIBLE CHALLENGES:
After installation, you might encounter one or two issues — or none at all.
- The installation may complete without prompting you to create a username and password.
- It may also complete with only the root user set up, and without assigning a password.
Tackling these is a walk in the park — fret not. Just create a new user and add them to the sudo group.
Create a New User (Manually)
If you’re logged in as root, you can create a regular user manually:
adduser yourusername
You’ll be prompted to:
- Enter a password
- Fill in optional details (press Enter to skip)
Then give your new user sudo privileges:
usermod -aG sudo yourusername
Then restart the Ubuntu and login with your new user. This is important because, it’s not advisable to be using root for regular operations in Linux.
If you’d like extra information on using WSL to run Linux on Windows, check this out.
Conclusions:
You just saw how quick and painless it is to get Linux running on your Windows machine — smooth, right?
If you’re new to Linux, now’s the perfect time to roll up your sleeves and get your hands dirty with some real commands and scripting fun.
I’ve got a beginner-friendly tutorial here waiting for you — no gatekeepers, no secret handshake. Just grab the bull by the horns and ride into the Linuxverse. 🐧💻
Looking for something more advanced or custom-fit to your tech goals or career path? Slide into my WhatsApp chat and let’s craft a training solution just for you.
Enjoyed the post? Drop a comment in the box — I’d love to hear from you!
And keep an eye out… the next post shows you how to run Linux right on your Android phone. Stay switched! ⚡